 Plotra Docs
Your first project
From signing up to your first scene: your account, workspaces and projects, the three ways to start, and the getting-started checklist.
This guide takes you from signing up to your first scene. Read it in order the first time. After that, the headings are the things you will come back for.
No account yet? It is free, with every feature and no card.
Create your free accountEvery feature is on the Free plan. No card needed.
Signing up and signing in
To create an account, give three things:
| Field | Rule |
|---|---|
| Your name | Up to 80 characters. It is your byline: co-writers see it on your cursor, your comments and your changes. |
| The address you sign in with, and where invitations and notifications go. | |
| Password | At least 8 characters. The eye button shows what you typed. |
Then press Start writing.
Where the server has Google sign-in set up, as the hosted version does, Continue with Google is above the form and does the same job without a password. A self-hosted Plotra without Google credentials shows only the email form.
To come back, use Sign in with the same email and password, or the same Google account.
Things to know:
- The sign-in form has no "forgot password" link. Keep your password somewhere safe.
- If you opened a link to a project or an invitation before signing in, you are taken there once you have.
- On the hosted version, sign-in is limited to 5 tries a minute and sign-up to 5 an hour, to slow down guessing.
Workspaces and projects
- A workspace is you, or you and your team. Its members can open and edit every project in it.
- A project is one story or one world: a novel, a series, a campaign.
A new account has neither, so the first thing Plotra asks for is a workspace name. The field is already filled in with "Your first name's workspace". Press Enter to accept it, or type your own (up to 80 characters). The workspace's web address is made from the name. The name can't be changed afterwards, so pick one you will keep.
To add another workspace later, use the workspace switcher at the top of the projects page. See Your account and workspaces.
Every project has a type (novel, web serial, tabletop RPG, screenplay and so on). The type decides which tools are switched on to begin with and what a new scene looks like. You can change all of it later in the project settings. The eleven types are listed in Project types.
Three ways to start a project
| Way | What you get | Where |
|---|---|---|
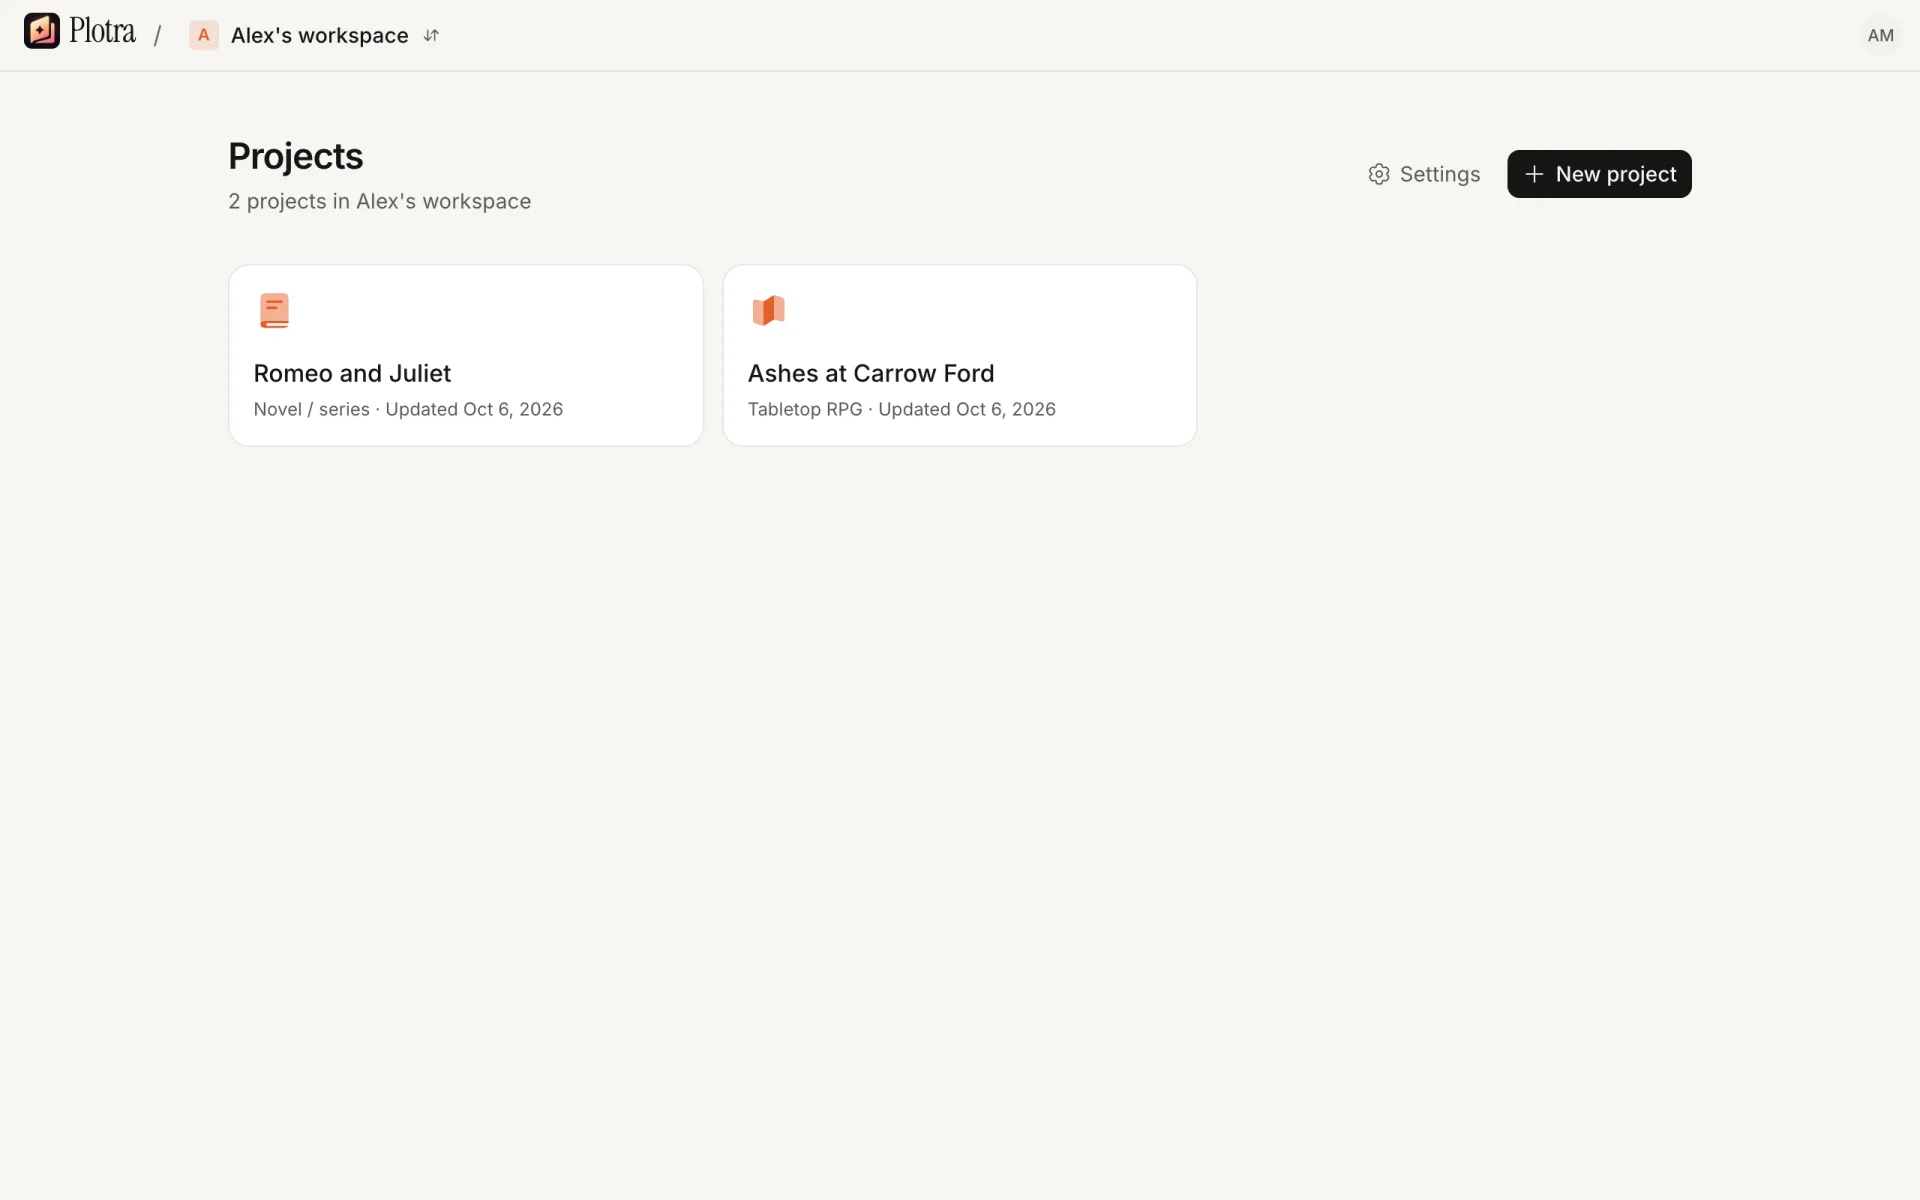
| Answer a few questions | A project built around your story: a first page with your character and place already linked, and a checklist of first steps. | A new account lands here. Later: Start your story in an empty workspace, or "answer a few questions" in the New project dialog. |
| New project | A blank project with one empty scene. | The New project button on the workspace's projects page. |
| A sample | A small finished project to look around in, with one mistake to find. | In an empty workspace, in the New project dialog, and in the questions under "What are you making?". |
A workspace also offers its own templates in the questions, once someone has marked a project as one. See Templates.
On the hosted Free plan a workspace holds 10 projects, samples included. When it is full, Plotra says so and no project is made. See Limits.
The cold open
The cold open is the set of questions at /start. It asks one thing at a time, and each answer becomes a note. On a wide screen a small graph beside the questions shows the notes appearing and linking up.
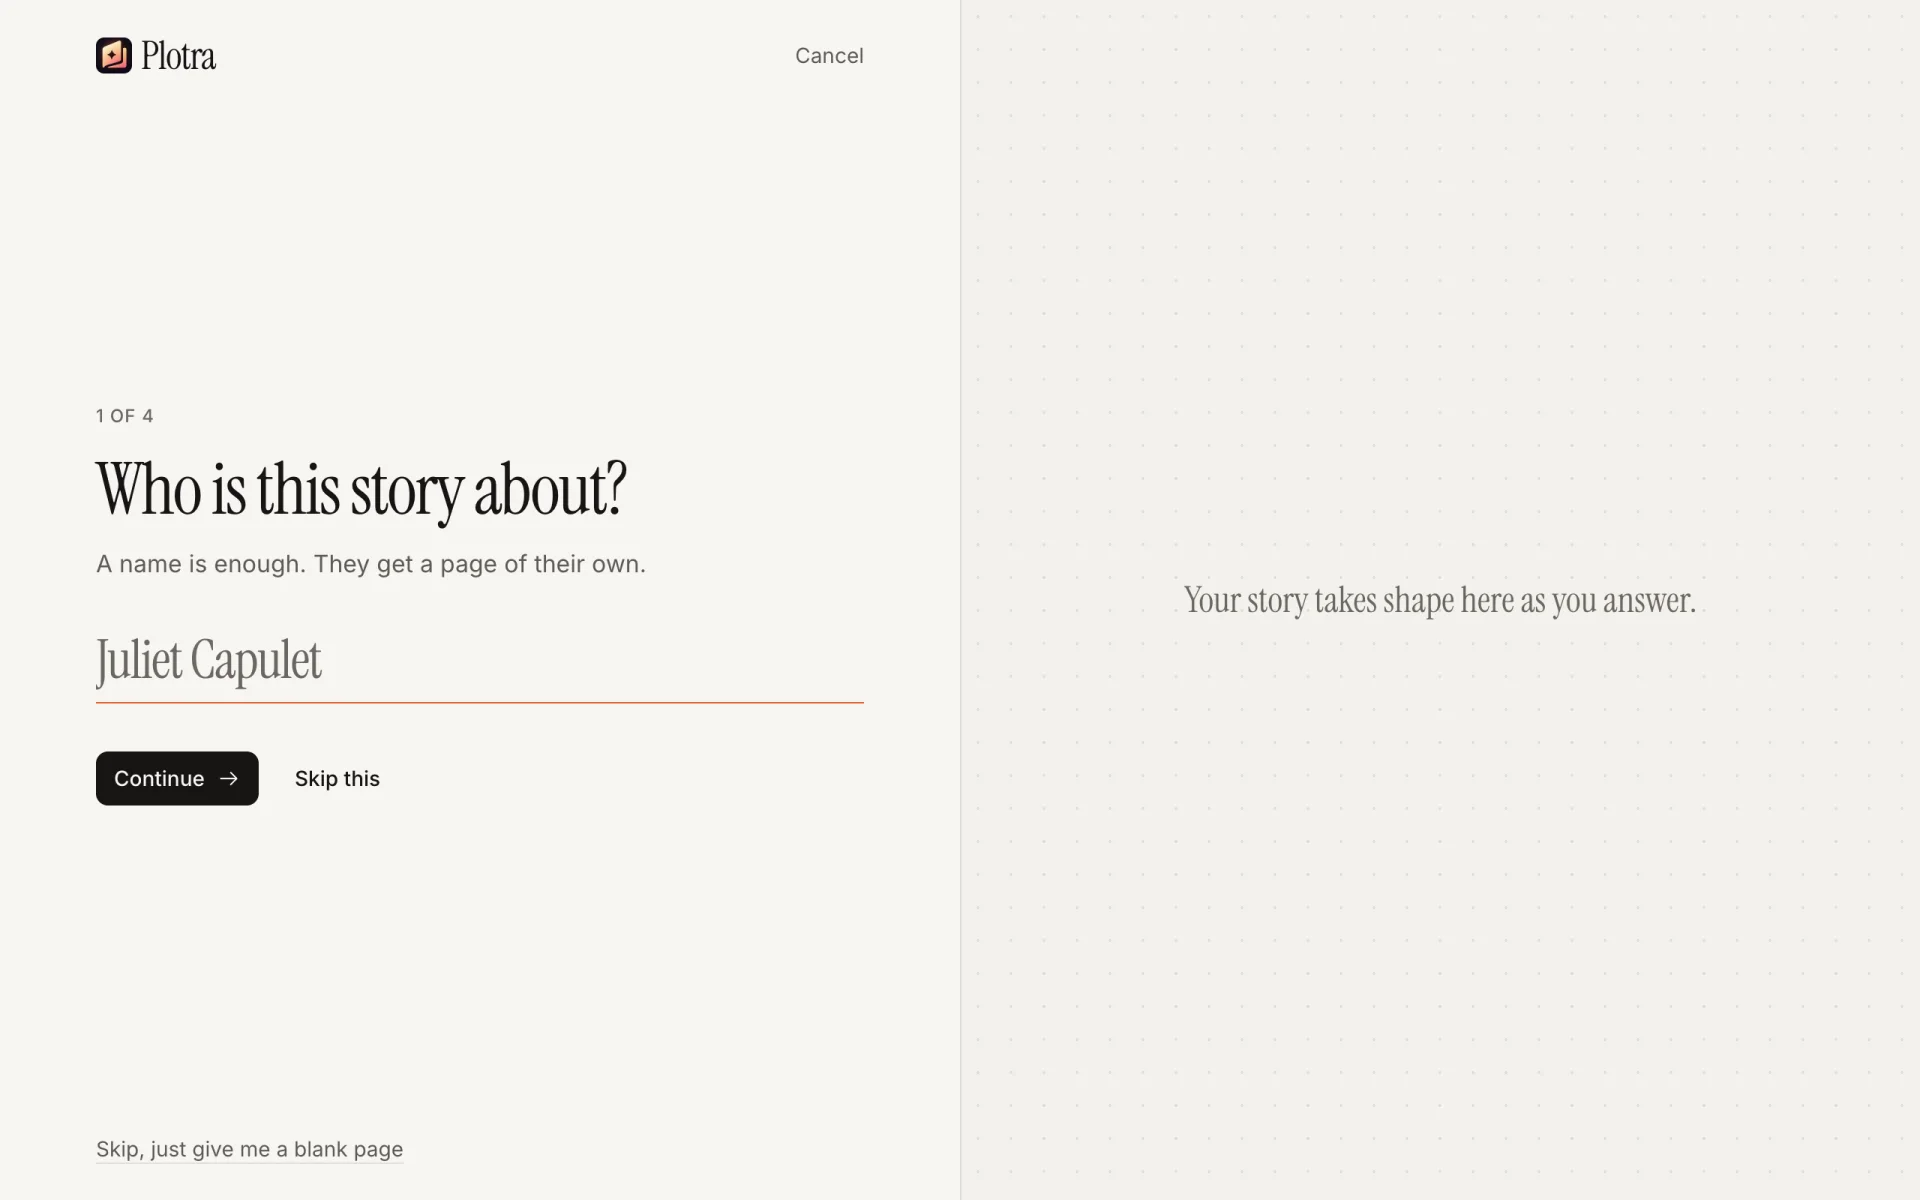
Every question has Continue, Skip this and Back. Enter answers the question. A skipped question is simply left out of the project. Skip, just give me a blank page at the bottom makes the project at once from nothing. Cancel at the top takes you back to the workspace, if you came from one.
The questions everyone gets
| Question | What it becomes |
|---|---|
| Who is this story about? | A character page. A name is enough (up to 80 characters). |
| Where is name when it starts? | A location page (up to 80 characters). |
| What is name hiding, or what do they want? | Choose Hiding something or Wants something, then write a line or two (up to 400 characters; Shift+Enter makes a new line). A secret becomes a note in a "Secrets" folder, with your character recorded as someone who knows it. A want becomes a plot thread on the first scene, and the character's Arc. |
| What are you making? | The project's type. A novel and A tabletop campaign lead; Something else shows the other nine. Some types carry a Beta tag. |
The questions for your kind of project
After the type, Plotra asks one or two more in that medium's own words. The last one's button reads Start writing.
| Type | Question | What it does |
|---|---|---|
| Novel | One book, or a series? | A series gets a "Book 1" folder and a release called "Book 1" that you can mark reveals against. |
| Novel | Whose eyes do we see it through? (only if you named a character) | Your character, or Someone else, who then gets a character page and becomes the first scene's point of view. |
| Tabletop | Who's at the table? | The player characters, separated by commas. Up to eight, each with a page in a "Player characters" folder. |
| Tabletop | What happens in session one? | A line or two that becomes the top of your prep, and its synopsis. |
| Screenplay | A film, a pilot or a series? | Names the first folder "Act One", "Pilot" or "Episode 1". A series also gets a release called "Episode 1". |
| Screenplay | Where does the first scene open? | INT. or EXT. It becomes the scene heading. |
The other types have no extra questions.
What the project starts with
| Type | First page | Around it |
|---|---|---|
| Novel | "Chapter 1" with a scene called "Opening", which begins "Mira is in the Salt Docks." with both names as links. | "Characters" (your character as Protagonist), "Places", and "Secrets" if you gave one. |
| Tabletop RPG | A "Session 1" folder with "Session 1 prep". It ends with a line marked for the game master only, which players are never shown. | "Player characters", "NPCs", "Places", and a release called "Session 1". Chapters are called "Session" in this project. |
| Screenplay | "Opening scene", in screenplay format: the scene heading, an action line that brings your character on, their cue, and the cursor in their first line. | "Characters", "Places". Chapters are called "Sequence" in this project. |
| Any other type | One scene, in the type's own format. | "Characters", "Places", "Secrets". |
Also:
- The project is titled "Untitled: who in where", or just "Untitled". Rename it in the project settings.
- The scene's POV and Location properties already point at the notes made from your answers.
- If your answers made a release, a secret that someone knows or a game-master-only line, the Releases & reveals module is switched on, because that is where those live.
- The project opens on its first page with the cursor after the text that is already there.
- With every question skipped, you get the first page for that type, empty. If you skipped the type too, it is a novel.
The new project dialog
New project on the projects page opens a short form. It makes a blank project: one scene called "Untitled scene", in the type's format, open with the cursor in it.
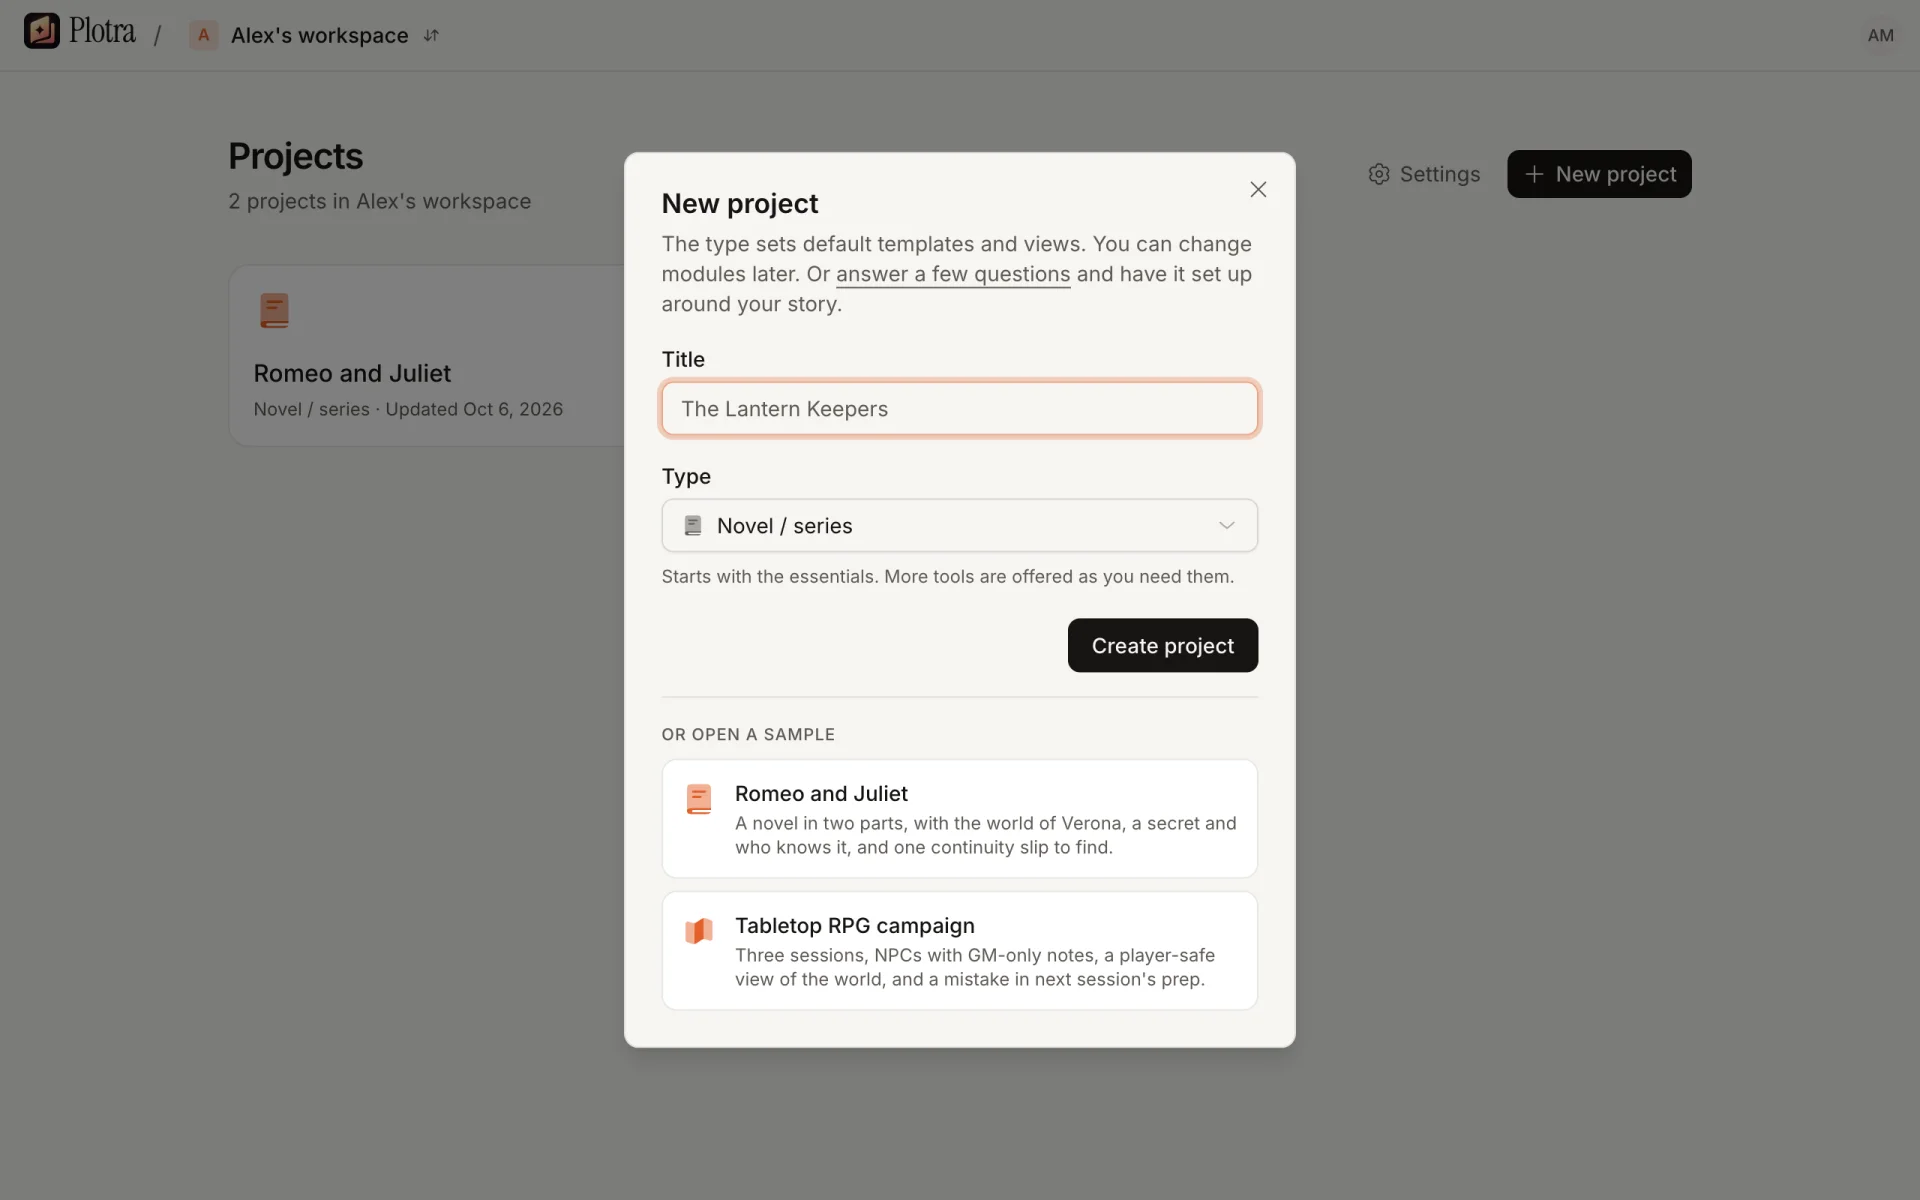
| Field | What it is |
|---|---|
| Title | Required, up to 120 characters. The project's web address is made from it. |
| Type | Novel / series and Tabletop RPG come first, then "Other kinds". The line under the field says which modules the type starts with and what format its scenes are written in. |
| Create project | Makes the project and opens it. |
| Or open a sample | The two samples, below the form. Choosing one makes it at once; the title and type above are not used. |
A project made this way starts with the standard ribbon (Graph, Codex, Outline, Draft, Read) whatever its type, keeps the app's own words for chapters, and has no checklist. Those three come from the cold open.
Write your first scene
A new project opens on its first scene, so you can start typing straight away. For the next one:
- In the binder, create a scene with the buttons at the top, or right-click a folder or a chapter and choose "New inside".
- Click the scene. It opens in the editor.
- Type. There is no save button: changes are saved as you write, and the status bar says Synced.
- Type
/at the start of a line or after a space for the block menu (headings, lists, tables, callouts, images). Select text for the formatting toolbar. Type[[to link to another note.
An empty note shows a suggestion in grey before you type, such as "Open on a line of dialogue." It is a way in, not text: it disappears with the first letter. To switch the suggestions off, open Customize… and clear "Suggest a way in when a note is empty".
If you go offline, the status bar says Offline. Your changes are kept on this device and sync when you are back.
The getting-started checklist
A project started from the cold open shows a small card in the bottom right corner: Getting started, with five steps and a count such as "2 of 5". Nothing is locked, and you can ignore it.
- A step is ticked when you do the thing, not when you press a button. Click a step to read how; the control it is about is ringed for a moment.
- Ticks are saved with your account. A step you did in one project is already ticked in the next, on any device.
- Finishing a step that is about a view pins that view to your ribbon.
- Click the title to fold the card away. The cross closes it for good; Getting started in your account menu brings it back, and so does Customize….
- It is shown only to people who can edit the project, and not in focus mode.
The steps depend on what you are making:
| Novel, and every other type | Tabletop RPG | Screenplay |
|---|---|---|
| Write your first 50 words | Write your first 50 words | Write your first 50 words |
| Link two notes | Link two notes | Link two notes |
| See your story as a graph | Write a line only you can see | Lay your scenes out as cards |
| Record a secret and who knows it | See what your players know | Start from a beat sheet |
| Set what readers know as of a book | Export a wiki for your players | Export to Fountain |
Some steps need a module. If it is off and you manage the project, the step shows a Turn on … button. If you can't switch modules on, the step is left out of your list.
When Plotra offers a module
A new project starts with few modules, so the screen is not twenty views wide on the first day. The others are offered where they become useful:
- a checklist step that needs one;
- More → More tools in the ribbon;
- the Kinds tab of the project settings, which offers the World bible.
Each of these opens the same prompt: "Turn on module?", with what the module is, the views it adds (they appear under More), and two buttons, Not now and Turn on. A module is switched on for everyone in the project, and nothing you have written changes. You can turn it off again in the project settings.
Only people who manage the project, the workspace's owner and admins, are offered modules. See Modules.
Next
A tour of the screen
The ribbon, the binder, the panes, the inspector and the status bar, and the keys that find anything.
Sample projects
Two small finished projects to look around in, each with one mistake to find.
Who it is for
A route through Plotra for your kind of writing, with a setup and a workflow.
The vault and the binder
Notes, kinds, properties, tags, tabs and panes.
The editor
Blocks, formatting, focus mode, word counts and working offline.
Links and backlinks
Wiki-links, embeds, backlinks and unlinked mentions.
How is this guide?
Introduction
Write your novel and build its world in one place. Scenes, characters and timeline stay linked, co-writers join you live, and canon stays straight.
A tour of the screen
The five parts of a project: the ribbon, the binder, the panes, the inspector and the status bar. Plus the project home and the keys that find anything.